
Picture this:
The weather’s perfect, the road looks clear, and it’s a good day to go for that bike ride you always want. Nothing could go wrong on this day, or so you think.
As you’re cycling along the road, enjoying the beautiful views and feeling the breeze push against your skin, you feel a sudden drop in the pressure.
You slow down, steer your bike off the road, do a quick routine check, and find that one of the tires has deflated. At this point, you only have two options, to push the bicycle for miles back home, or fix the damn thing yourself.
If to you, the latter sounds more convenient than the former, then this article is what you need. It guides you through the step-by-step formula, on how to patch a bike tire in the easiest and convenient of ways.
But first, here are some of the basic tools you’ll need for the job.
- Bicycle tire patch kit
- Rag/Cloth
- Wrench
So let’s see how all these tools aid you.
Contents
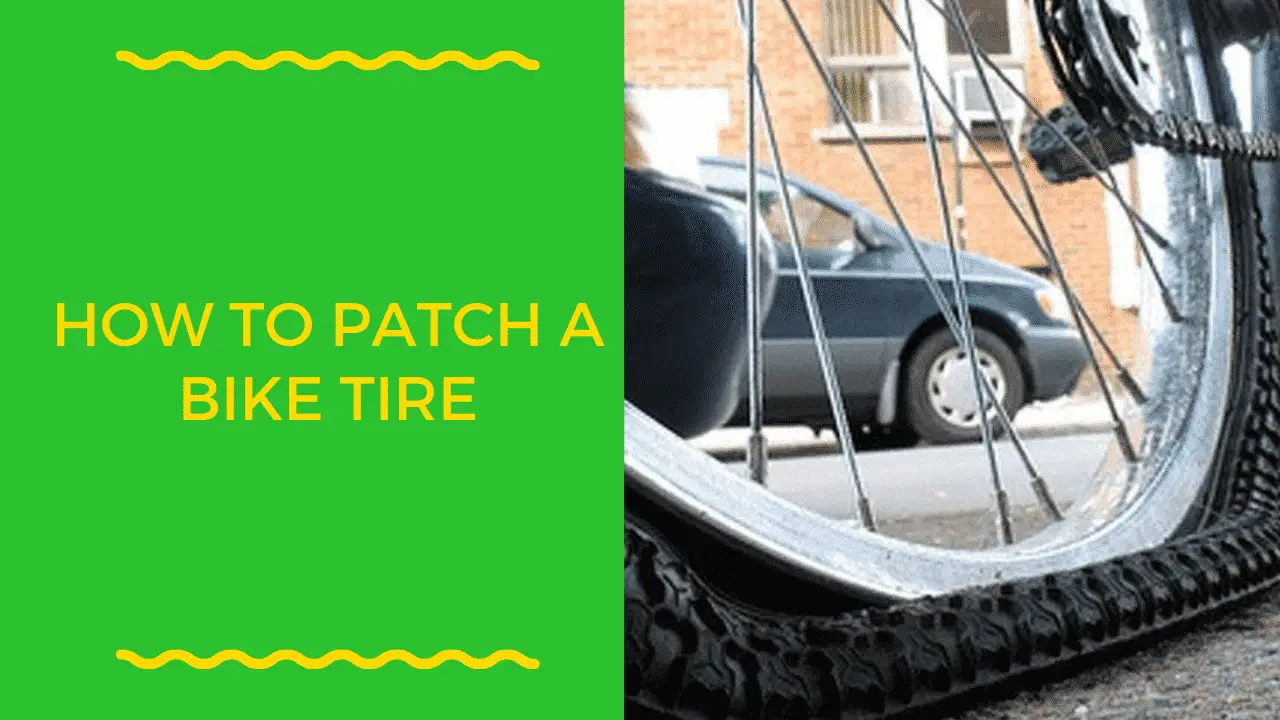
Remove the Wheel
Your first task is to flip the bike upside down, with the wheels facing up. At this position, it is much easier to detach the wheel from the bicycle.
Now, there are two ways to remove the bike wheel, it depends on the type of bicycle you have. For the modern bikes, you’ll find a small lever-like structure at the centre of the spokes, tilt the lever in an anti-clockwise motion, and the tire becomes free.
For the old school bicycles, a wrench will do just fine. Use it to loosen the nut at the centre until you can freely remove the tire. While doing this, make sure you correctly disconnect the brake pads, and get them out of the way beforehand.
When the tire is free, scan around the surface for sharp objects like thorns, or pieces of glass that might be the cause of the puncture. If any, carefully remove them, mark the spots with chalk for later reference, and then proceed to the next step.
Remove the Tube
Once the flat tire is off, your next task is to remove the tube from the tire. For this, you can use a sturdy prying object, a tire lever, or any tool that won’t damage the tire or the inner tube, in the process.
Insert the blunt end of the tool between the rim and tire, and carefully start to detach the two. Do this in a systematic pattern getting every inch of the tire before proceeding to the next. When the whole thing is off, remove the inner tube from the outer tire, and move to the next step.
Locate the Hole
Now, this is the heartbeat of the whole process, and as such, you must be very meticulous when going about it. Any slight loss in concentration, will take you back to square one. Therefore, here’s what you need to do;
Inflate the Tube
Pump air into the flat tube using a bicycle pump; make sure you insert a good amount of pressure because you’ll need the tire inflated, for the tests that follow.
Listen-in for Air Leaks
Although tire holes are small and undetectable, you can record patterns of hissing noises coming from the inflated tire by listening in, carefully. Bring the tube closer to your ears and mark any spots where you feel air noises or pressure, coming from.
And if that doesn’t amount to much, move on to the test below;
Plunge the Tube into Water
While still inflated, dip sections of the tube into a bucket of water, and clearly mark any areas where bubbles form. Make sure to follow a sequence where the whole tube goes into the water.
Patch the Hole
After you’ve located the exact pain points, solving the problem becomes relatively easy. The process of patching the hole is systematic and it follows this pattern;
Score the Tube
Every bicycle comes with a tire patch kit, with a set of instructions inside, on how to patch a bike tire. Some bikes have automatic patching rules, while others still prefer the conventional route. Therefore, you want to look at the set of guidelines on your bike, before sanding the tube.
Nonetheless, if you choose to score the tube, use sandpaper to rub that adjacent area, about the size of the patch you’ll use. Once the surface is rough, the patching process can begin.
Apply the Patch
Get glue from the kit and apply it around the abrasive area. Make sure there's enough glue around the hole, and give it time to dry, and then place the patch on that area.
Press it against the tube with force, and hold it in that position for a few at least four minutes.
Repeat this process for any other hole you may find on the tube.
Reinstate the Tube and Tire back to their Positions
After one last thorough check for any sharp objects, you’re free to put the tire back together. Take the outer tire and start inserting certain sections of the tube back first. When at the valve system, carefully place it back into the entry point on the rim, and use your thumbs to align the rest of the tire.
Confirm whether the tube and tire align properly and they are correctly tucked into the rim.
Pump the Tire
Take the pressure pump, and gradually increase the air on the tube. Note that every bike comes with a standard air pressure, which you shouldn’t exceed.
Replace the Wheel on the Bike
When you’re certain that the tire pressure is enough and can hold your weight, put the wheel back in place. Use the wrench to tie up the nut tightly, but before you do that, make sure the brake pads are back to their position too.
Take the bicycle on a test ride to see if the tire is completely fixed.
Always Replace the Worn out Tubes and Tires
If your bike tire develops punctures every so often the chances are, it needs to be replaced.
Replacing the worn-out tires and tubes save you the trouble of having to patch the tire frequently.
To Wrap it Up
Fixing a bike picture is something you always have to be prepared for when you’re out cycling. Therefore, always have a pump, patching kit, and other necessary tools in case that happens.
