
Anyone cyclist will agree with me that punctures can leave you feeling flat. As long as you have a bike, getting a flat tire is inevitable. You can get it on the road or anywhere, and it can leave you feeling frustrated and immobile.
However, with little knowledge and a little practice, you can learn how to change a bike tube. At first, the whole process may look daunting, but you get used to it with time.
Changing a tube is an essential skill all cyclists need to possess. With little practice, you will boost your riding confidence and knowledge about basic bicycle repair and maintenance. In this article, you will learn how to change bike tires after getting the best bike tube for your bicycle. Let's get started.
Contents
Reasons to change a bike tube.
Cyclists change bike tubes for two reasons. If it is not a normal routine maintenance process, it is the punctures. Let's focus on the punctures because it happens to any cyclists, and it usually gets us the time we least expect and it is important you know how to patch a bike tire. One common cause of puncture is pinch flats.
Pinch flats happen when your bike steps into something like a rock, railroad track, or sharp pothole, which causes an immediate impact. The bike's tire is compressed so much from the impact making the tube pinched between the rim's edges.
It creates two small holes, which are half an inch apart on the tube. Pinch flats are also known as snake bike flats. Besides stepping into something, pinch flats can be caused by less inflation pressure, narrow tires, or poor riding techniques.
The other cause of punctures is getting inside the tire and pricking the tube to deflate. Sometimes this happens instantaneously, or it may take some time before the tire deflates.
That said, you need to know the condition of your tires every time before you ride the bike. Before you start replacing the bike's tube, here are the things that you need to have:
- Tire levers
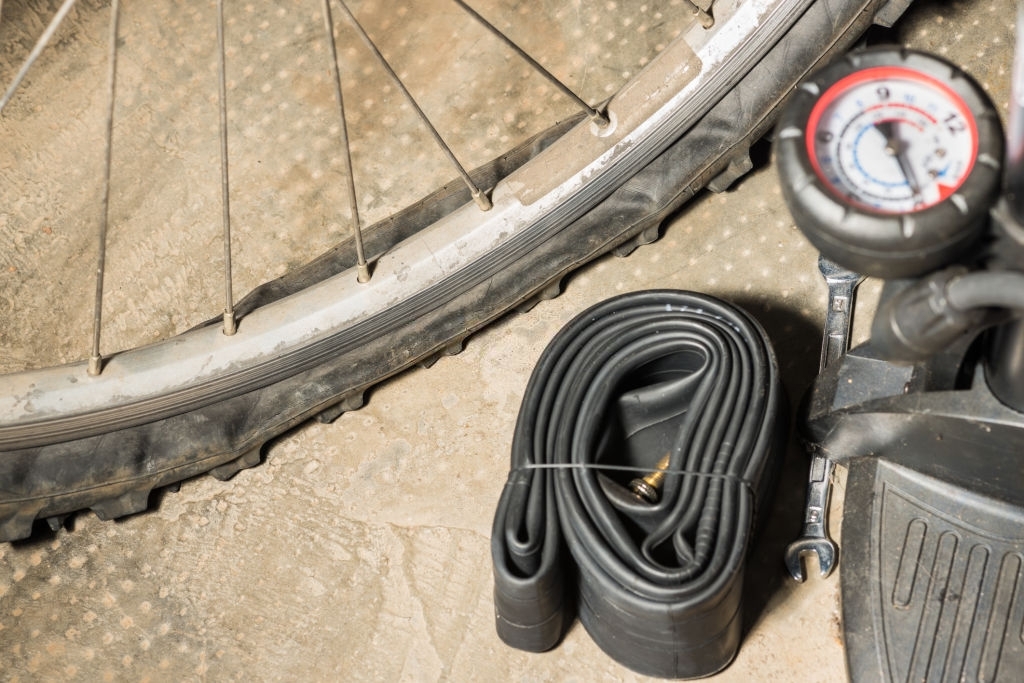
- A spare tube or patches
- A pump
- An adjustable wrench if necessary
Ensure that before you go for any riding, you have all these things together. When the worst happens to your tube, you are always ready. If you have a flat tire, the first thing you need to do is move to a safe place and follow the instructions below.
Steps You Need to Follow to Change Your Bike
Once you are in a safe spot, you need to flip the bike upside down, ensuring the seat and a handlebar touchdown. This will free your hand from the task of supporting your bike with your hands. Then follow these guidelines.
Step 1: Remove the wheel
It would be best if you took off the wheel of the frame. And you'll need to loosen the axle nuts and quick-release levers which hold the wheel. After that, you'll need to open the brakes so that you can remove the wheel quickly.
If you want to take off the rear wheel, shift the chain to the smallest gear. Doing so will make the removal and replacement easier. For bikes that have disc brakes, never touch the rotor when you open the quick-release mechanism.
Otherwise, it will burn you when it is hot. The more you practice taking the wheel on and off, the more it becomes easier for you to do it when you are on the road.
Step 2: Let out the remaining air.
Once the tube is out, deflate the tire. There are two ways to go about this, depending on the type of valve you have. For bikes with a thinner Presta valve, you need to take off the plastic dust cap and open the small valve at the top while pressing down to let out the air.
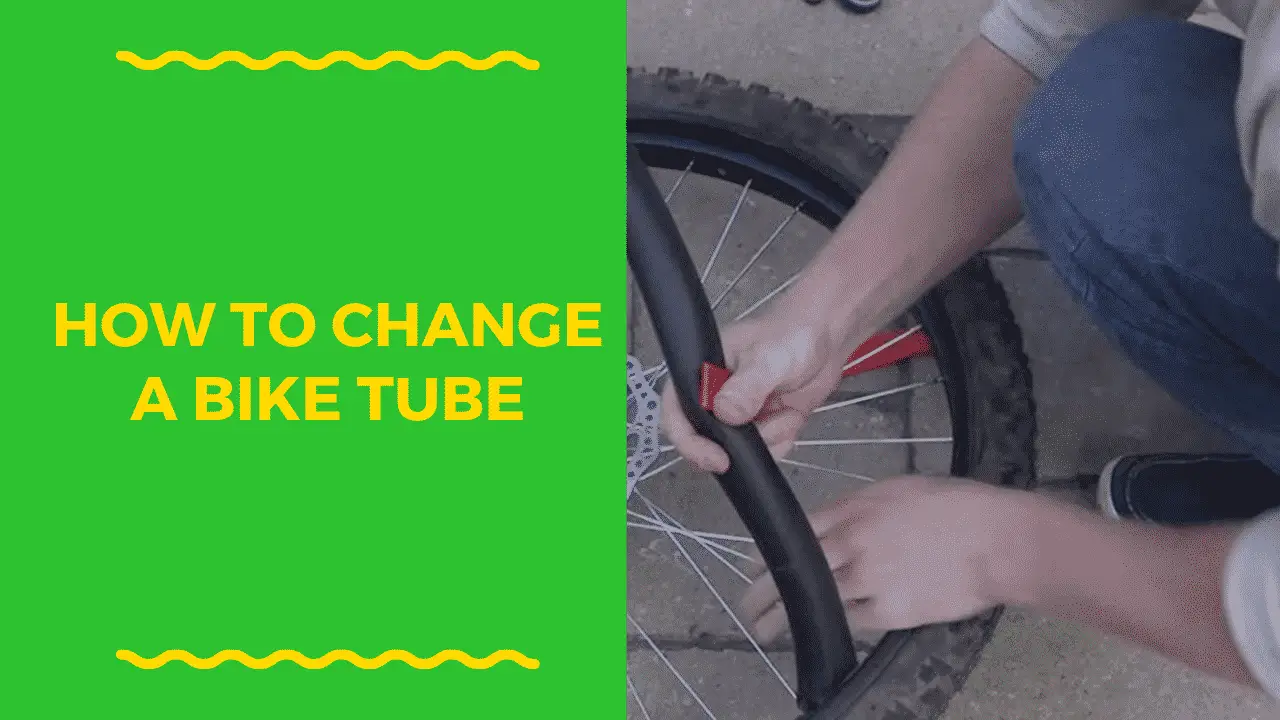
Using a tire lever, push the tire beads to the edge of the rim and work your way around to ensure all the sections of the tire beads are free. When the tire beads are free, you can use your fingers to remove the tube.
Pull the inflatable tube by pulling the valve stem out of the rim first. Once you have done that, the rest of the tube will come out easily with a single pull. Make sure you don't damage the valve on the rim.
Step 3: Know the cause of the puncture.
Find the cause of the tire and tube for punctures. If you look carefully at the tire, you will find embedded objects. Once you see something, look at the tube's exact location to see if there's damage.
If you find a single hole on the tube, chances are the rim tape shifted and exposed the sharp edges to the tube. If two holes are present, then it is a "pinch flat."
Step 4: Partially inflate the new tube
If you want to save time while biking, never repair a damaged tube. Instead, install a new one and repair the old one later. Here it would help if you inflated the new tube to give it shape partially.
Step 5: Install the partially inflated new tube.
First, insert the valve stem into the rim's hole. Ensure the valve stem is straight and not slanting. Then put the rest of the tube in the tire while pushing the tire beads inside the rim.
When you are confident that the tube and tire beads are installed well, you can inflate the tire to the desired PSI. Continue inflating the tire slowly while ensuring the rim is firmly seated on the tire beads.
Step 6: Put the tire on
The final step is putting the tire on the bike. Here you will need to line up the wheel's axle, put the derailleur back, and ensure the axle is firm. Using the quick-release lever, you will tighten the nut and close the lever.
Ensure the tire is tucked and not touching the frame. The last thing you'll need to do is reconnecting the brakes and testing to see if they are working.
Conclusion
Now that you know how to change a bike tube, unexpected flat tires won't surprise you on your way. Changing a bike tube is easy when you follow the steps above. Before you go out, ensure your tire and tube are in good condition.
Never repair old tires when you have a puncture; always change your bike tube and repair it later at home. It's time-consuming to repair a bike tube when you are in the middle of the journey.
