
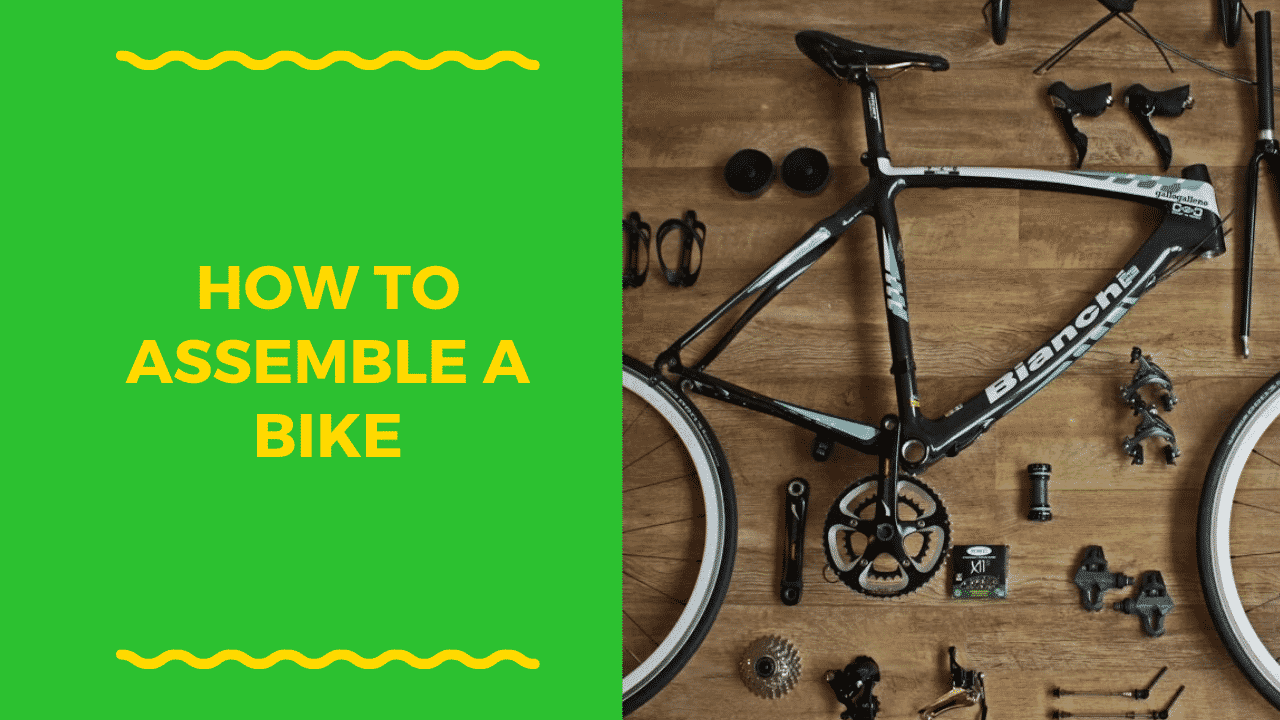
When bikes are ready to be shipped, they are often dissembled into disjointed parts so that they can fit inside smaller cartons for easier movement
For this reason, you will have to assemble the different pieces by yourself.
How the bikes are broken is dependent on various factors, including the manufacturer, make, and model. So, we always recommend that the best way of assembling a bike is to refer to the user's manual for exact instructions.
Nonetheless, we shall look at the step by step procedure of how to assemble a bike.
Contents
Use the Manual
As we had mentioned in the beginning, the first step that will set you up for success during bike assembly is to refer to the user manual.
The user manual will provide you with exact instructions on how to go about the entire assembly process.
If your bike lacks a user manual, an alternative way will be to look for the instructions on the manufacture's website.
The last option is to consult someone at your local bike store if you need help with the assembly or have a question about the process.
Check if all Parts are Included
Before you begin the assembly, you need to ensure that everything you need is included.
Use the user’s manual to counter check everything that is listed.
And if you find anything missing, contact your manufacturer or retailer.
While at it, we must stress that you should not throw anything away until you're done with the assembly process. Other smaller parts such as screws are mostly concealed either in protective swathe or in the box.
Tools you Need
Again, you’ll need to refer to the user’s manual to check what tools you require for the assembly.
The type and sizes of the tools might vary according to the bike model and make.
Generally, however, you’ll need;
- Cable cutters
- Multi-tool
- Wrench
- Allen keys
- Screwdrivers
Lubricate the Bike Parts
Refer to the user manual to determine the parts that should be lubricated and with what type of lubricant.
Typically, most of the lubrication is applied in places where metals collide directly with other metals.
Applying lubrication in these areas will reduce the damage that may arise due to friction or corrosion.
Areas that may probably need lubrication include;
- Axles
- Seat post
- Seat tube
- Thread
- Quill stem
Assembly
We recommend starting the process of assembling with the handlebars.
If you’re installing an older quill-style stem, you’ll first grease all the stem bolt threads and shaft.
Fasten the faceplate on top of the bars by using a multi-tool. However, don’t fasten too tight as you might later on need to shift the gradient of the bars.
Ideally, you should tighten the top cap just enough to hold it in place.
Securing the Front Wheel
A majority of the bikes often come with the hind wheel set in place, so you only need to glide in the forepart wheel.
Before attaching the front wheel, clear any other material along by detaching the plastic fork spacer.
Lay up the frame on the ground in pole position and fix the wheel.
While at it, center the wheel evenly and ensure that it's adequately aligned between its fork and that that wheel is placed at a level.
Once the wheel is evenly placed, tighten the bolts.
Many of the bikes often come with a faster release skewer at the front, and this allows for easy installation and removal without tools.
You need to tighten the skewer and ensure the quick brake release is screwed up.
Instructions for installing the wheel vary most between designs, and we recommend you refer to your user manual for precise steps for the specific wheels.
Adjusting the Handlebars
Now, this is the time to wrap up fine-tuning your handlebars.
First, perform some alteration to the angle.
Few of the bike models usually come with the measurement markers that will enable you to locate the ideal angle.
Be as it may, ensure that the faceplate bolts are well constricted by utilizing you Allen Key.
Ideally, the length separating the stem at the rear of all bots and the faceplate is the same.
Having an equal distance between these two components will ensure that the bars do not move while you’re cycling.
Fitting the Saddle
What follows up is attaching the bicycle saddle.
By now, the seat post is already greased, and the only thing remaining is to move the post into the frame smoothly.
You can slide the frame to your fitting height and fasten the seat by employing your multi-tool
Fitting the Pedals
Fitting the pedals is a pretty easy task.
However, understand that there’s a right and left pedal; the left pedal is conversely interlaced.
You can also check which pedal is for what leg by checking the spindles.
The L and R markers indicate whether a pedal is for the left foot or right foot.
To install the pedal, screw the respective pedals onto their corresponding thread.
We recommend that you first tighten the pedals with your hand, before switching to a wrench for a firm tight.
Final Checks
The final step of the assembly is double-checking your bike.
If your bike uses gears, you can give the gears a trial run.
Squeeze on the brake levers to see they make contact with the rim without interference, and that each pad retreats and equal distance from the rim.
